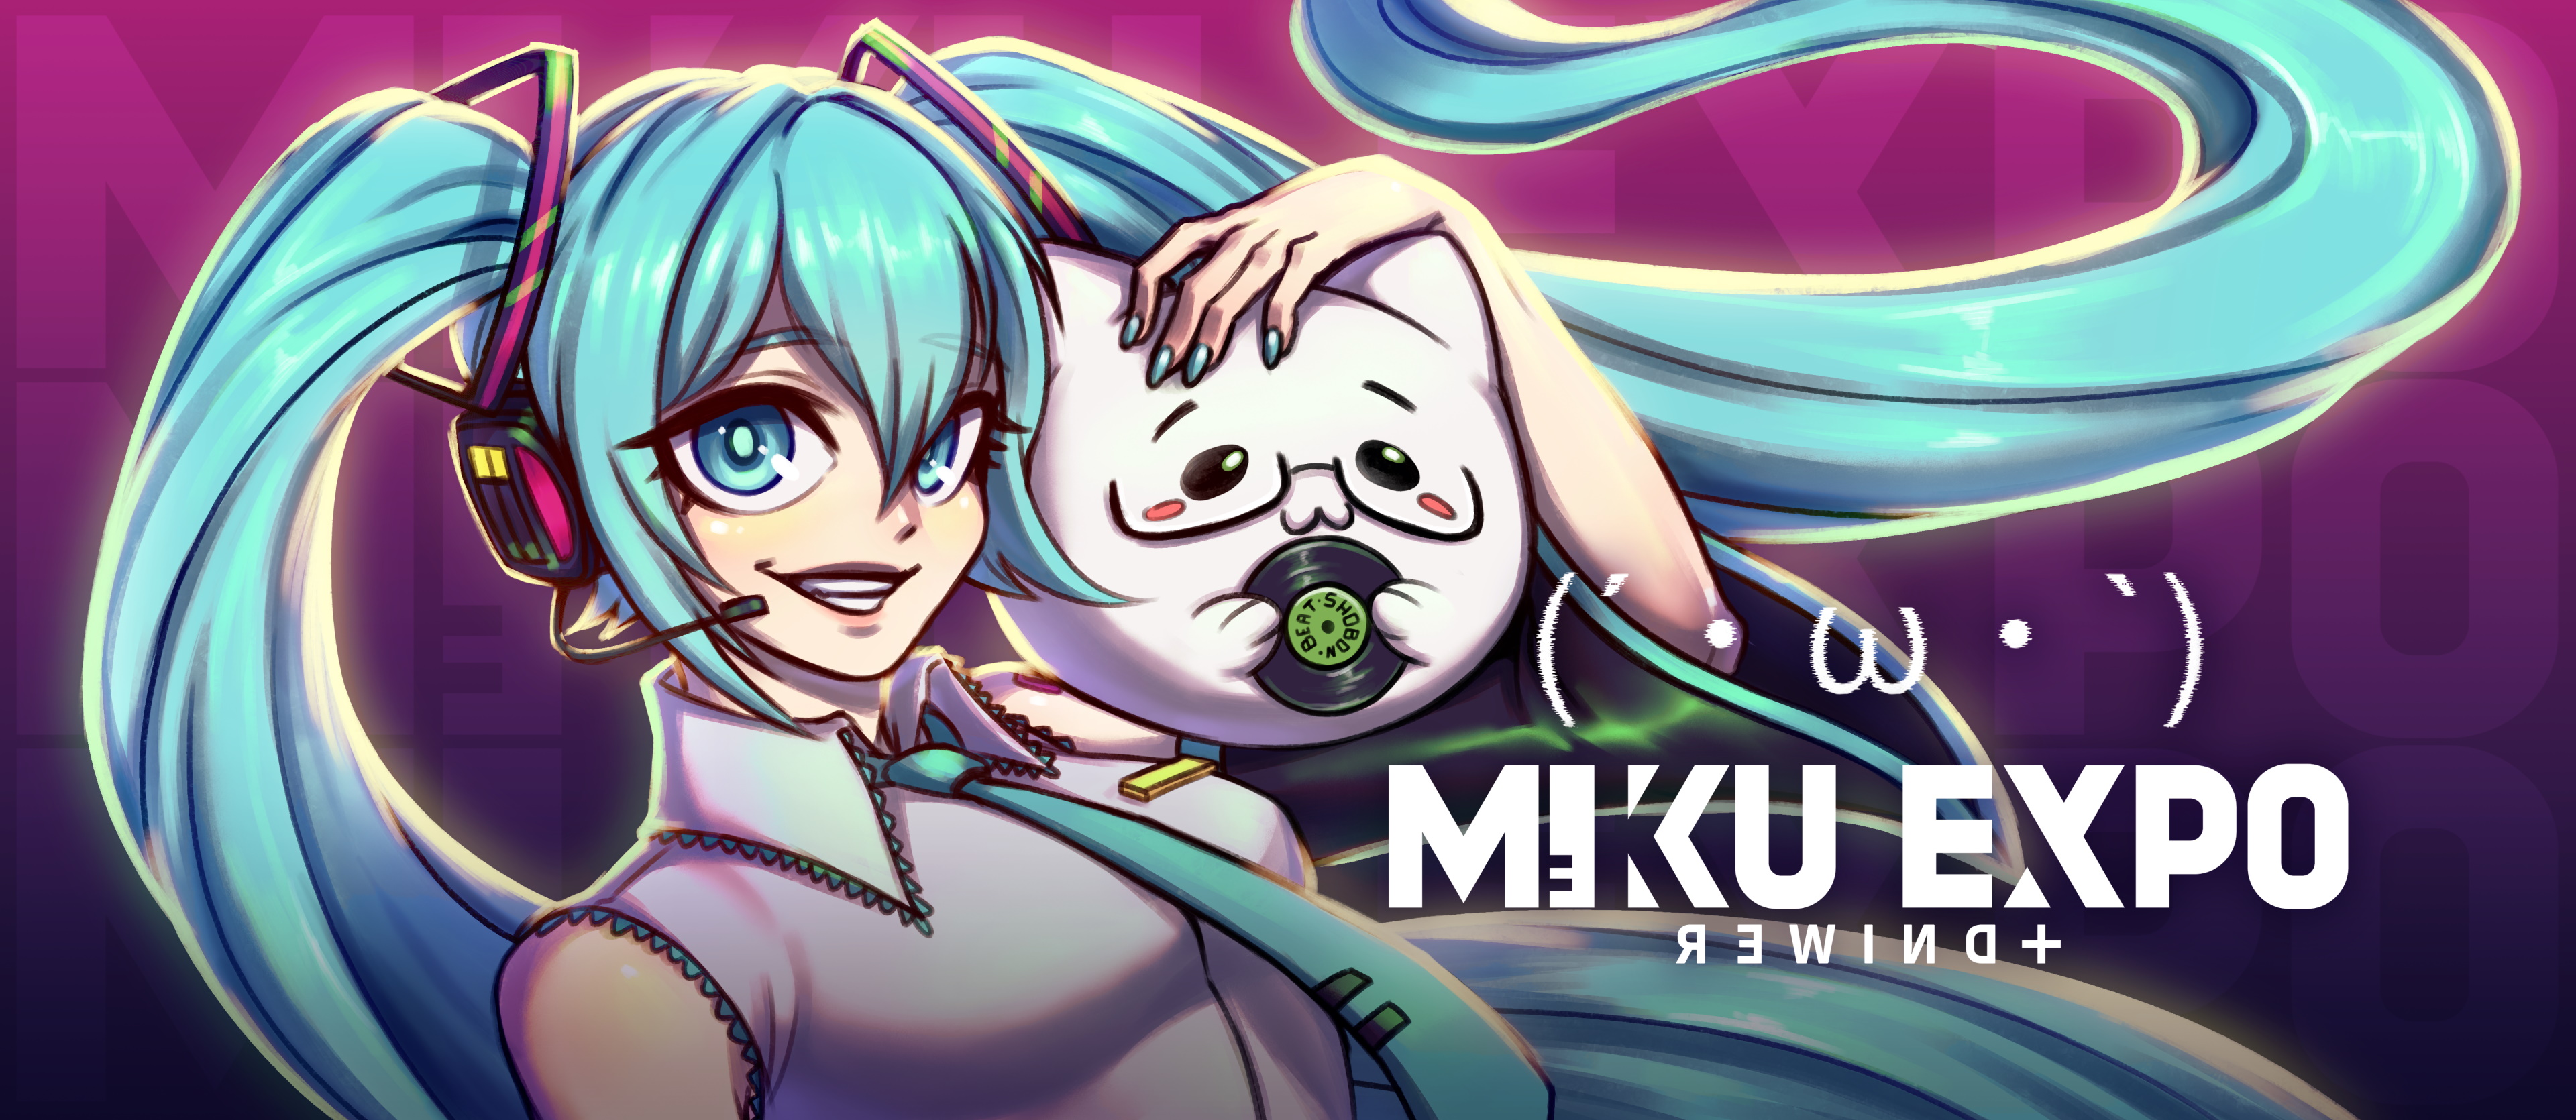
Excited to say I’ve been given the opportunity to work on set visuals for the upcoming MIKU EXPO Rewind+ online event!
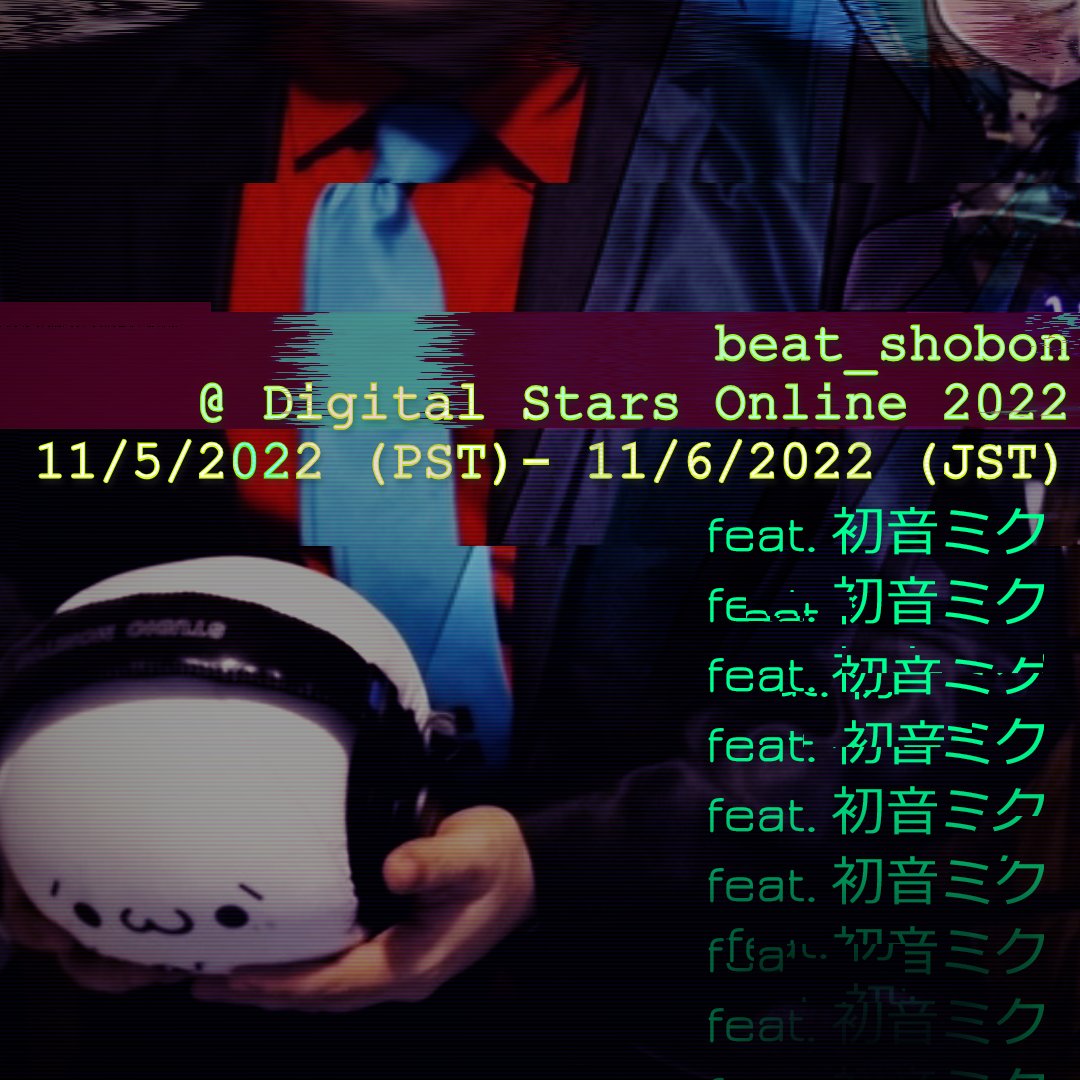
Specifically, myself and several others have collaborated on an entirely original DJ visual set for the amazing beat_shobon, which will be premiered during the Digital Stars portion of the expo, taking place only on the official Hatsune Miku Twitch.tv channel.
The Digital Stars portion will be streamed 11/5/2022 @ 5:25 PM PST, 11/6/2022 @ 9:25 AM JST. This livestream will not be archived, so be sure to check it out live if you don’t want to miss it! We hope you enjoy!
I originally wanted this to be a more long form post, but after reading some drafts, I think it’s simply put best as a couple notes to not dwell entirely on the past, and to continue looking to the future, to aspire to do even greater things.
I’m humbled for this past year to have participated and assist in the International Wrestling Festival, an overdue return of form for IWF.
Many things made this collaboration incredibly challenging, but it cannot be stated enough how many things also made it incredibly fun and gratifying to work on. The journey taken to complete this collaboration, like past ones I’ve worked on, is one I will never forget.
To all of those who I worked with on this collaboration: thank you. You are some of the best friends I could ask for and I am incredibly grateful for you. It is impossible for me to describe how much joy each of you have brought into my life. I hope you all continue to do amazing things in your lifetime and I will always be here to support you.
To the viewers: thank you for watching. You enthusiasm towards these videos is something that is always greatly recognized and appreciated, and I hope for as silly as these videos are they inspire you in some form.
And to Danny Resko: thank you for everything. Thank you for embracing the Wrestling Series culture and to have had such a positive influence as you’ve had. It was an honor to meet you and I wish you the best and many more 歪みねぇな years to come.
Earlier this year, my friend Dylan James, who I was familiar with for his YTPMVs in the past and more recently having been able to work with him on the last Octagon collaboration, had made a tweet where he shared a link to a selection of music he had made for #mod_shrine on EsperNet, an IRC channel for tracker and .mod file discussion, along with one hour compos (OHC). From what I gather, in recent years it’s transitioned more into being only the latter, with OHCs being held every week, and not only limited to music made in trackers such as OpenMPT, but open to anyone using any DAW. Lots of amazing artists and musicians have joined these, such as Tee Lopes, Frums, and coda.
I was really impressed by seeing how many good tunes Dylan had put out in these OHCs, and even made an unintentional “everyday” with one of the songs. I decided I might as well idle in the IRC channel to keep up with the OHCs, though at the time I never had even considered making some my own.
Fast forward to a few months later, Dylan randomly notices I’m in the user list and starts (nicely) bugging me about trying to join an OHC sometime. Despite having made a good chunk of YTPMVs and having attempted playing a couple instruments in the past, I still to this day wouldn’t consider to be versed in any sort of music production, especially compared to everyone in #mod_shrine. Regardless, I decided to take up the challenge and give it a shot.
Half-jokingly, Dylan suggested that along with making a song, I make some visuals for it in that time as well. I figured this may be my best way to make a good first impression, since to both our knowledge nobody had ever made an “.mp4” entry before. My first entry, simply titled “do”, was made for the compo held on June 28th this year, and I think judging from the reaction it made… some sort of first impression.
1
2
3
4
5
6
7
8
9
10
11
12
13
14
15
23:02:03 @rogerclark play do
23:02:12 ashastral Wha
23:02:12 Frums ?????????
23:02:13 dylanjames music 2
23:02:14 @rogerclark its a video
23:02:15 Snooze W
23:02:19 Frums WHY BATTLEDOME
23:02:19 Snooze wha
23:02:20 dylanjames lmao
23:02:20 ashastral WHAT
23:02:27 Telperion w h a t
23:02:28 @coda oh wtf
23:02:31 @coda i just opened it in chrome
23:02:46 dylanjames opening mp4 in chrome
23:02:46 @rogerclark sick
My excuse is the 'do' sample sounded like '超!' and I just happened to have a mask handy. Also these visuals were made in roughly 15 minutes
Despite placing 8 out of 11, I really had fun with the compo and interacting with everyone during it! I’ve joined several more since then, one of which I made live, and am still participating to the current date. It’s been a nice way to stay in a creative groove and get inspiration for not only music but other creative projects, and has gotten me a lot more interested in music production overall. Everyone who participates is super nice and encouraging, and they all make really good stuff, so I’d highly recommend giving it a shot at least once sometime, because I’m almost very certain anyone who joins once will want to a second time. We’ve since gotten other previous YTPMVers involved and I even convinced my longtime friend KP to join — so go ahead and give it a shot!
From #mod_shrine is where I ended up having the opportunity to participate in what is the second topic of this article: Club Fantastic, a completely free-to-play and high quality set of tracks for play with StepMania, intended for new players and even experienced, featuring several artists from the #mod_shrine IRC channel. It has a self-contained, hassle-free setup, so you can download it right now and get started playing right away!
Dylan approached me about Club Fantastic not long after participating in a few #mod_shrine compos, where I had the opportunity to work with a lot of great people, including Roger Clark, who currently hosts majority of the #mod_shrine compos nowadays and who I previously only knew for his programming streams and, very fitting now, a DDR documentary he had helped produce. Along with producing a trailer for the project with Dylan (which you can view below), I made some art for Can’t You Bounce!?, a song produced by Dylan under the alias team BOUNCE. The first season of the project was released last week to high acclaim from many DDR players, including iamchris4life, the subject of the aforementioned documentary.
A strange string of events brought me to having participated in both of these communities I really wouldn’t have considered before, but like most things I have gotten interested in, I think seeing a friend’s passion in the work they do and then sharing that passion and encouraging me really inspires me to try it out, and eventually it ends up being a new interest. So, along with the whole Club Fantastic crew, I’d also just like to give a special thank you to Dylan and Roger who were both super encouraging through the whole project, especially Dylan for reaching out who without I would’ve not had this opportunity.
I originally wanted to write just the tutorial portion of this post, but quickly realized I’d like to share some of my thoughts on creating things modularly too, specifically in After Effects.
Often when I have some trouble achieving something in After Effects, I find that many tutorials don’t take advantage of the modularity of the software and resort to either destructive methods of achieving what they’re after or using a different piece of software altogether. While these methods are perfectly fine, I have trouble committing to something destructive, because I will only be able to undo that change in the moment, and once my project has been saved and the software has been closed, I can’t go back on my actions.
Sure, I could incrementally save the project as I go, and if I decided to change something I could go back to an old project, but I’ve only done this as a form of having a backup incase something goes wrong in the project, or I decide to redo something entirely. This is more important in 3D software where many more factors are in play, but the point stands it mainly serves for backup purposes. Frankly, even if it were possible to go back to an old project file and merge the changes into the new one, it’d end up being more of an inconvenience. I know because I’ve done this before, albeit manually, but setting up something modular beforehand will make everything more streamlined in the end. A lot of newer software seems to be taking this approach much more seriously, such as Substance, Houdini, and Notch.
All this being said, I’m honestly not the most creative person, and this is just how my brain is wired and how I express what creativity I do have, really. Part of the beauty I find in traditional art is it’s a very in-the-moment thing. A painting is essentially impossible to be reproduced exactly how it was because of many things that depended on the conditions at the time: how the paints were made, what the condition of the brush was, the condition of the canvas, etc., and as humans, we’re naturally imperfect in making anything. I view art as being inherently destructive, or “uneditable”, especially because once my work is out there, very rarely is there ever a reason to modify or add to it.
Before I go off onto a tangent further, to sum this up: however you make art is of course up to you and/or whoever you work with, and in the end, the general public will never see how it was made. I just wanted to write a bit about my thoughts on it and how my brain works to maybe offer a better perspective of how I work… and maybe so I can understand myself a bit more, I realize now it’s becoming more apparent I should pick up Houdini…
Anyways, onto the tutorial!
超!エキサイティン!!
There’s two methods of accomplishing this comic panel setup, but both start the same way, which is creating the panels themselves. The easiest way is with shape layers and to “slice” sections of a rectangle with the Merge Paths modifier.
Simply set up a shape layer with two groups, one for the base shape (a rectangle here) and one for the slices. Then you can create a group for the slice, and duplicate it as needed to shape out the comic panel how you’d like.
Base rectangle, Merge Paths disabled…
Merge Paths enabled!
The stack of the shape layer
One nice feature of using shape layers is you could continue to modify this shape further, such as adding modifiers to round the corners, or distort the whole shape.
From here is where the tutorial splits off, one method more convenient and one more modular if you decide to make changes later.
The first method is once you have this comic panel layout, because there’s no built-in function to convert a shape layer to masks as far as I’m aware, is to auto-trace this shape layer and apply it as a new layer.
The auto-trace function can be found via: Layer -> Auto-trace. Be sure to use settings that don’t interfere with the shape.
From here, you can change the mask mode from Difference to Add, and duplicate this layer for as many masks as you have. You’ll have to manually turn down the opacity for each panel you don’t want, or you can apply this expression before duplicating the layer to the mask opacity, name your layer “Panel 1”, and then duplicate the layer as necessary. It might be ideal to lock your masks before duplicating your layer as well.
Your layer stack should look something like this now:
This is the end of the first method, from here you can then parent your footage to these layers and use them as mattes or however else you please. If you’re scaling up the panels at all, make sure you have the Continuous Rasterization switch checked.
The second method is a much more modular approach where you could modify your original shape layer setup, or even animate it if you wish.
First make sure your shape layer is in it’s own precomp, that way you can come back to your single shape layer instance whenever you’d like to make changes. Then on that precomp, add the Paint Bucket effect, move the fill point to one of the panels, and set the blending mode to Stencil Alpha. Setting the tolerance to 150 seems to be the sweet spot for making sure the alpha of the panel’s edges aren’t changed as well. This will essentially cut out a single panel that you can then use in the same way the panels were cutout with auto-traced masks as done prior.
A closer look at the Paint Bucket effect properties
From here you can duplicate the layer and move the paint bucket’s fill point to each of your panels' location.
This could be the end of the tutorial but let’s have a little more fun with this modular setup. What if we wanted to have an outline around the panels? Or move our panels individually?
We already have a matte for our panel so we don’t really want to interfere with that, and duplicating the layer would mean if we wanted to make changes to that panel, such as changing the fill point or modifying an effect, we might have to make changes to two layers. An easy way to get around this is copying the layer as-is into a solid, and one way to do this is using the Compound Arithmetic effect.
Create a new solid, comp size, enable the Continuous Rasterization switch, and add the Compound Arithmetic effect, setting the source layer to the comic panel precomp (with Effects & Masks), and setting the operator channels to ARGB to make sure it includes the alpha.
Who knew arithmetic could be useful in AE
This setup allows you to have an exact reference of your specific comic panel layer incase you made changes to it, such as changing which panel it’s using, without linking properties via expressions.
So what can we do with this? One of the most simple things is adding an outline to this layer. You could do this via layer styles at this point, or if you want a strictly effect-based approach, use an effect stack like this one, after the Compound Arithmetic effect:
Effects FTW!
What we’re doing here is slightly blurring the panel, crunching the alpha (which has now been expanded because of the blur), cutting out the original panel with the Calculations effect using the comic panel layer set to Silhouette Alpha, and then setting a color for the outline. There’s some slight alpha bleeding inbetween the panel and the outline that can be fixed by using a Simple Choker and setting it to a small negative value, somewhere from -1 to -2 works well. Layer styles don’t have this issue, but layer styles of course have their own issues, something to write about for another time…
Once all your panels are set up it should be something like this!
At this point you can lock your solid layers and simply move your precomp layers to move the panels, and the outlines will move with them! You’ll notice the layers will break if you move them too far, because the Paint Bucket effect doesn’t respective layer position, but you can fix this by either offsetting the fill position with the layer position, or adding the Transform effect and transforming the layer from there. Using the Transform effect is a lot nicer because this takes care of modifying the scale, rotation, skew, etc.
Because of this setup of separating the panel and outline into their own layers, we can apply effects independently to these layers to achieve some neat effects. One such example would be applying a Linear Wipe to the panel precomp, which will automatically propagate to the outline layer.
This setup maintains the outline too!
To close things out, here’s a simple animation using some of the above techniques, such as the Transform and Linear Wipe effects.
3Dアクションゲーム!
Retains the ability to be modified, and doesn't impact the animation!
I think that about covers everything. If you had any trouble following this tutorial at all, you may refer to the project file by checking the link below. And of course if you have any feedback, please feel free to leave a comment! I haven’t written out a tutorial like this before so I’d be interested to hear what people’s thoughts are.
This past week I had the opportunity to be featured on soaroz’s YTPMV podcast! In it we discuss about how I got into YTPMV, more details about the recent Octagon collaboration, and my thoughts on how 音MAD relates to YTPMV. Please enjoy!
If you would prefer an audio-only version of the podcast, soaroz has provided an MP3 download available via Mediafire: Download